Small Changes
I’ve been kind of busy lately, decorating WebKinz Rooms planning and executing end of the school finales in ballet, Girl Scouts and language arts. Not to mention the potty training, which is going quite well.
I’ve also been working on a variety of little Corners of My Home, changing them from cluttered to functional and pretty. Before I share the pictures with you, let me tell you about the most important thing I learned when my friend Jen came to help me declutter. She taught me to pull everything out of a space – everything off a shelf, out of the drawer, dump out the bin or bucket. You can’t do the job right if you try to leave everything where it is and pick and choose what stays or goes. This has made a huge difference for me. Before I might have looked at a space and say, oh here’s two or three things that need to go. Now, when I see a space cleared out and I have to justify putting each item back, I can really see how much better I can do. So with this new technique, here are the spaces I’ve been working on lately.
First, my bakers rack.
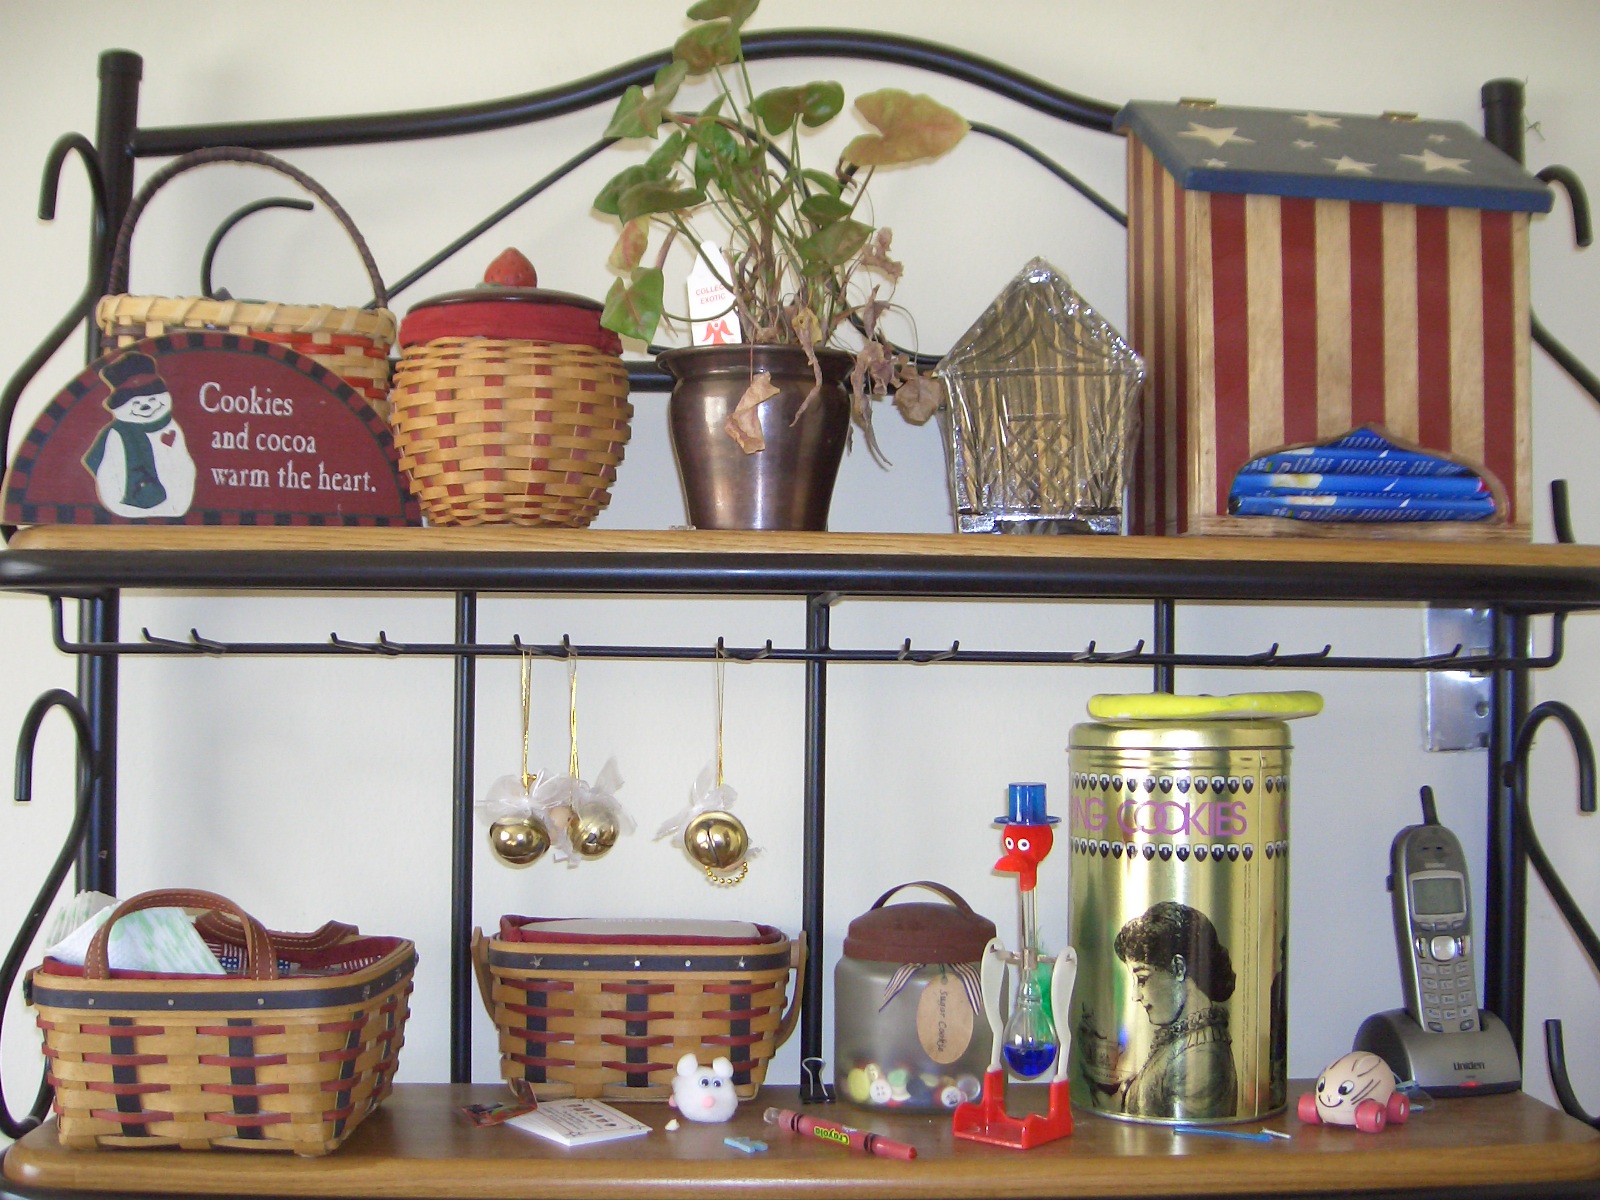


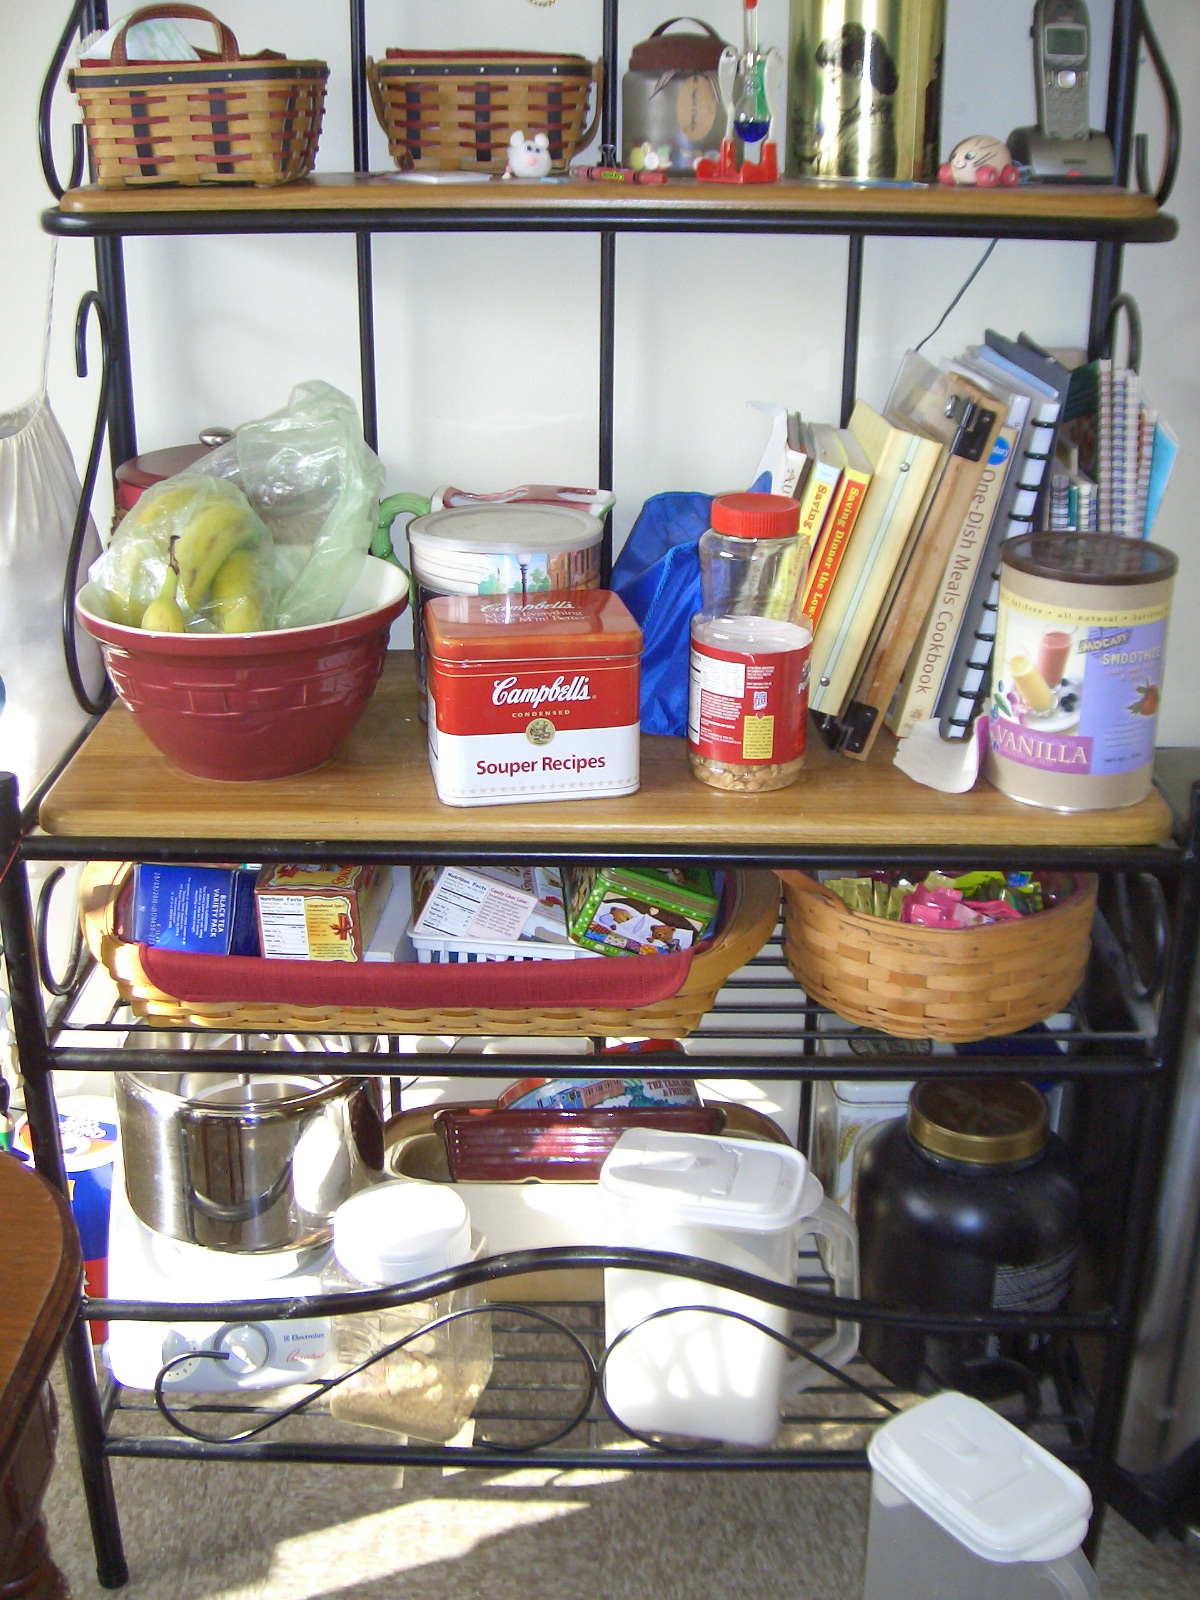

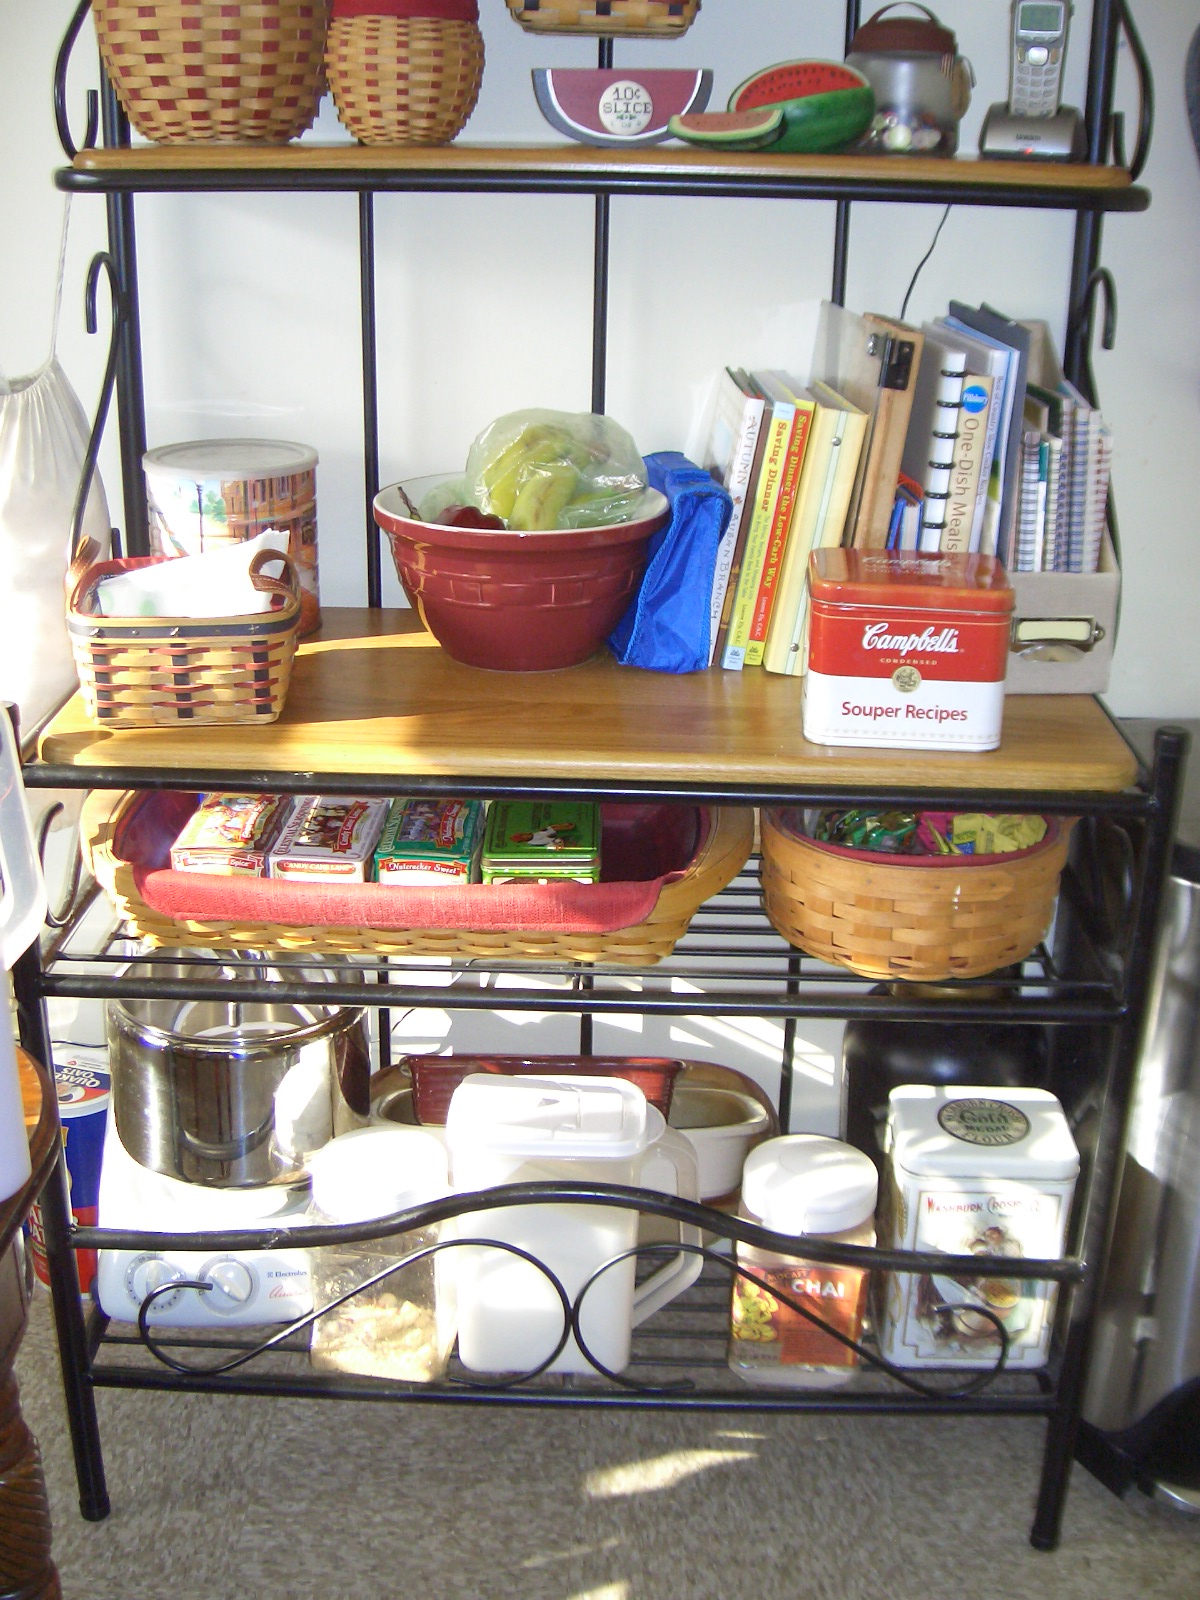

Crowded medicine cabinet before:
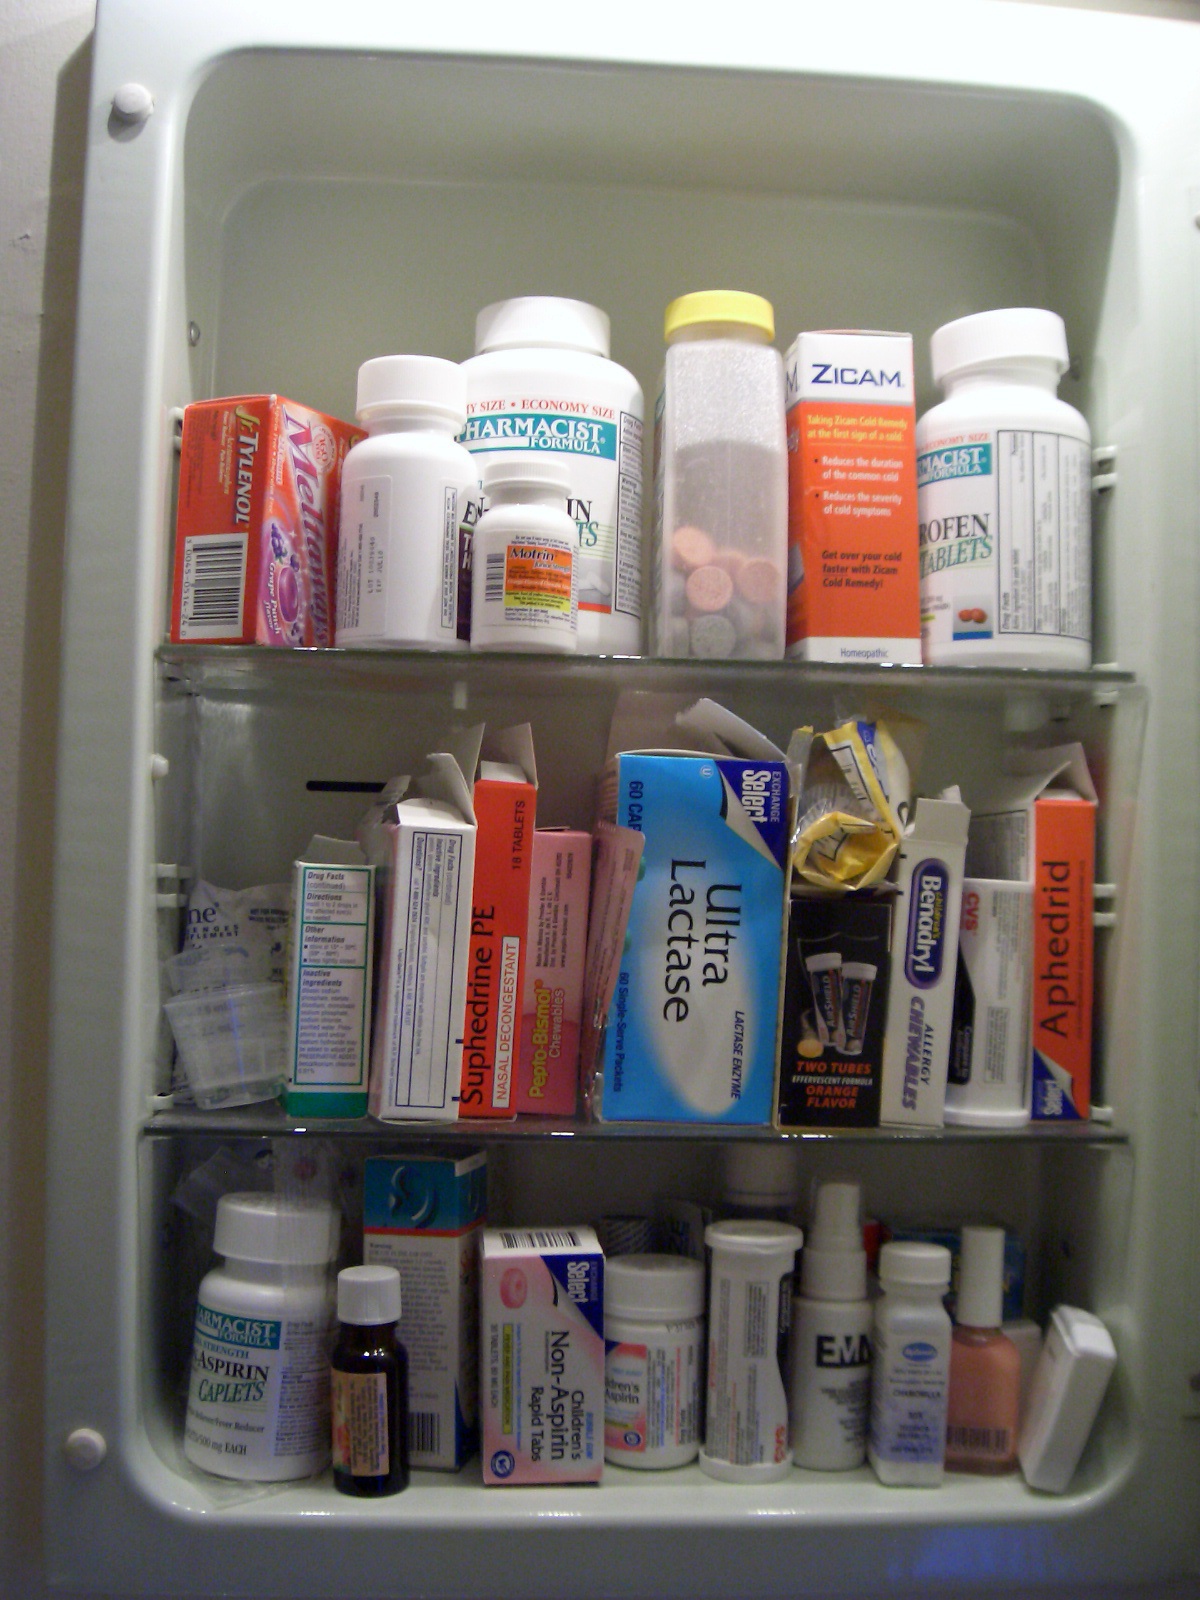

and after. Everything expired got tossed, duplicates were stored elsewhere unless the current bottle was close to empty.

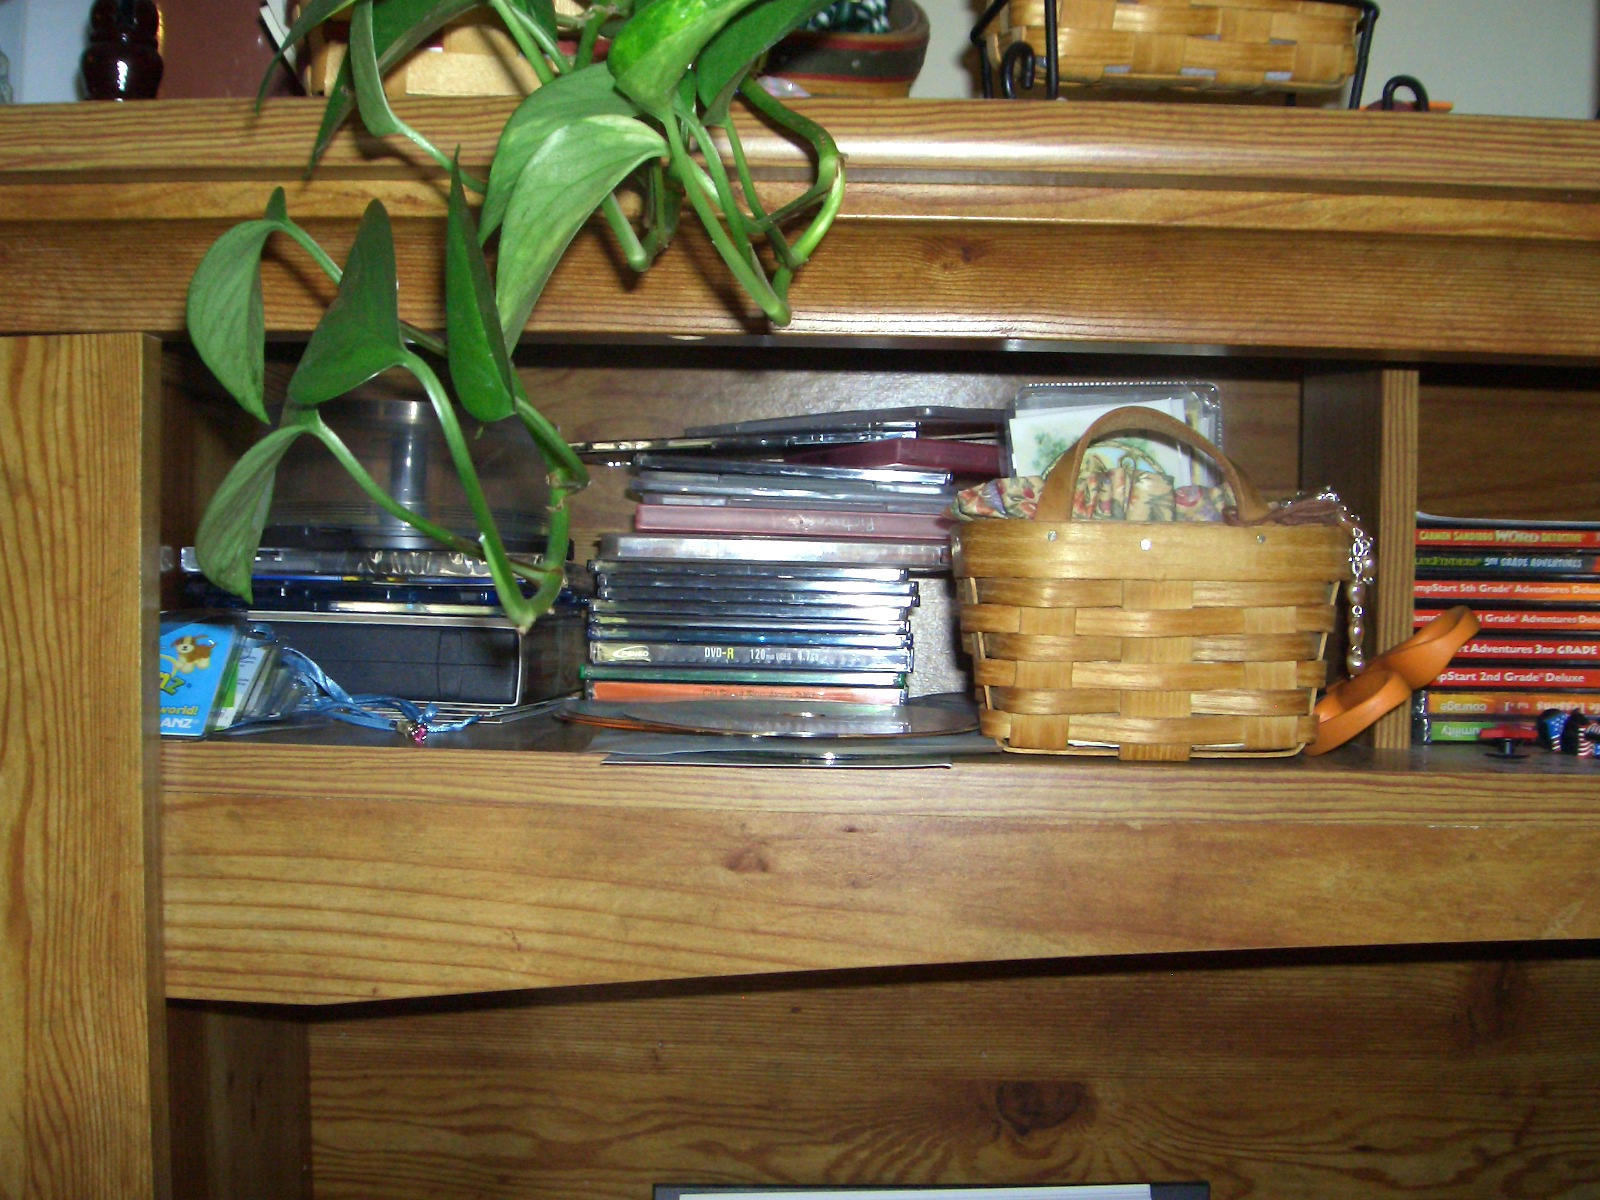
And Phase 1 of the computer desk, the shelves. Shelf 1 and 2 before:


Here is where the emptying out all the shelves at once really helped. It was easy to look at those shelves and think everything was neat enough and we could always find what we wanted. But when it was all emptied out on to the desk, I had this stack of software:

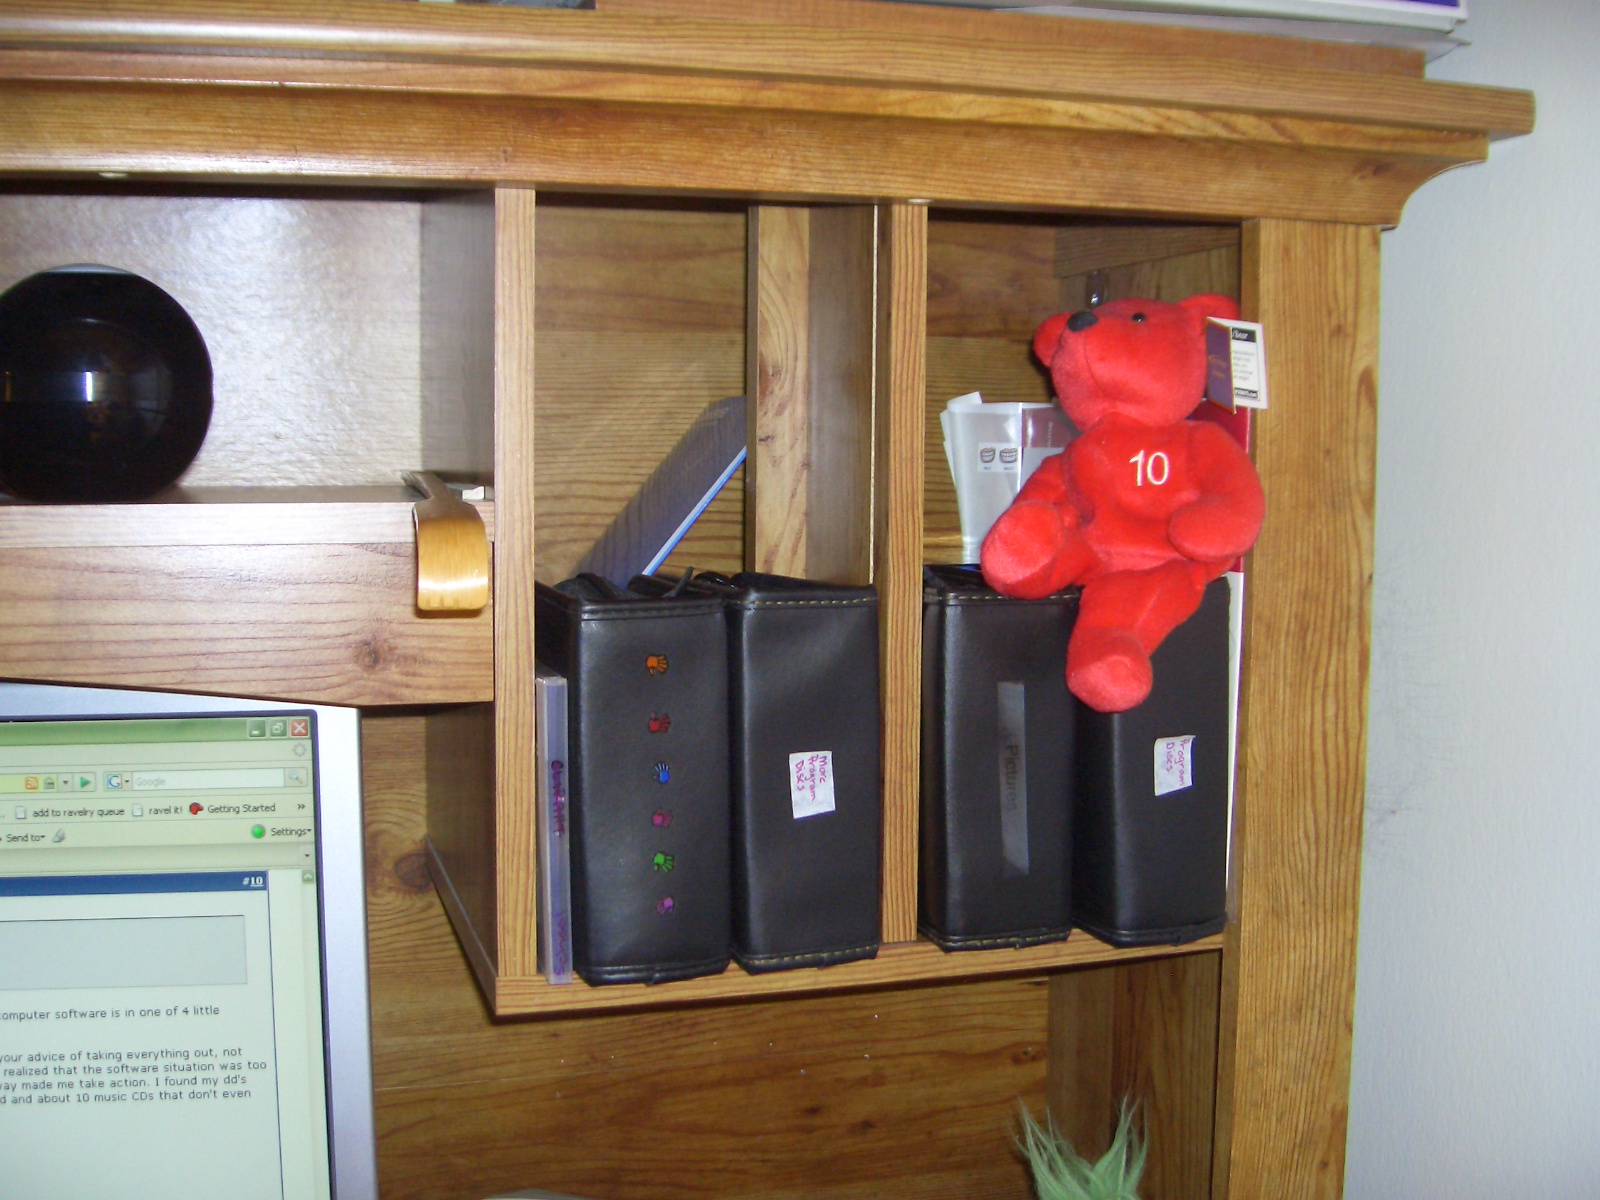
Yikes. I took no prisoners. I had Philip buy small CD binders on the way home from work while I emptied the jewel cases and boxes. I pulled out all the inserts stuck them all in one envelope, labeled and stored it. I wrote key codes right on the CDs with a Sharpie marker. Every single CD went into one of 4 binders. There are now 2 program disc binders, one for pictures and one for the children’s programs. I pulled the children’s school software out of their binder and put it into a jewel case that holds 4 CDs.   So here’s the software situation now. Every single thing in the above picture is contained in this:

You can see the binders sitting on the shelf in one of the pictures above. Much, much better. All those boxes and hard plastic jewel cases got thrown away. I saved a couple of the softer plastic cases, the ones that don’t crack easily, in case I need to travel with a disc of any kind.  A bunch of the CDs didn’t even belong with the computer and got moved to the stereo.
So there you have it. Just a little bit of love and time produces a much, much better situation.
Inspired or convicted? Hmmmm… not sure yet. Either way, I really need to get rid of some of these piles around here … 🙂
You are so motivated. I am jealous. A CD/DVD organization trick I do (to follow what you did)is to burn copies of my discs and store the originals away safely. I then label the copies with my DiscPainter and even add the key codes on the label. Because I don’t always put discs back in their cases right away they tend to get scratched from being handled around the computer or stereo. If I scratch my copy, all I have to do is burn a new one and use the DiscPainter to print on a new label and it’s good as new.